Just a quick post sharing a simple card I made last night. It was fun to pull out my Sugar Chic stash! I still have plenty of SC embellishment kits for sale. At $19.95 for seven items, it's an awesome sweet deal (includes shipping, too!)
Showing posts with label sugar chic. Show all posts
Tuesday, June 25, 2013
Tuesday, March 5, 2013
Heidi Swapp's No Limits and Sugar Chic Embellishment Kits on Sale Now!!!
Have you gotten your new Sugar Chic and No Limits paper packs from Michaels yet? The Sugar Chic is beyond gorgeous. I have heard the No Limits is just as exceptional, but I am still patiently waiting on my Michaels to stock this gem, which should be any day now.
I have put together embellishment kits that match each paper pack with a price that will blow your socks off. OK, your socks will probably not acually blow off, but at these prices, they just might scoot off!!
The Sugar Chic Embelishment Kit sells for (are you ready?) $18.99 INCLUDING shipping! Yep, that is correct. Six incredible Sugar Chic items for a total of $18.99 with shipping. You just might want to pick up several of these sweeties as I don't think they will last at this price. All you have to do to order these kits is email me at katemorrow1515@gmail.com and let me know how many of each kit you would like and please be sure to include your address.
Here are the items you will receive in the Sugar Chic Kit: Sugar Chic Stix, Sugar Chic Banner Delights, Sugar Chic Sentiment Storage, Bow Ties, Glitter Bow Tie Clips and Sugar Chic Openables.
![]() |
| Sugar Chic Stix |
![]() |
| Sugar Chic Banner Delights |
![]() |
| Sugar Chic Sentiment Storage |
![]() |
| Bow Ties |
![]() |
| Glitter Bow Tie Clips |
![]() |
| Sugar Chic Openables
|
Before you see what you will get in the No Limits Embellishment Kit, let me tell you the price. This kit includes not six, but seven items for the price of $19.99 amd again INCLUDES shipping!! Yippee, count me in for two or three, right? And what will you get in the No Limits Embellishment Kit you ask? Well it is my pleasure to not only tell you, but show you.
The No Limits Embellishemnt Kit includes:
![]() |
| Destination Trimmings |
![]() |
| No Limits Buzz Words |
![]() |
| No Limits Pennants |
![]() |
| No Limits Destination Pennants |
![]() |
| No Limits Openables |
![]() |
| No Limits Sentiment Storage |
![]() |
| No Limits Stix |
Please email me at katemorrow1515@gmail.com and let me know how many of each kit you would like and include your mailing address. Thanks so much!
Thursday, February 28, 2013
Belle: The Star of Heidi Swapp's Memory Display Stand
Happy Almost Friday! I have been doing so much shopping lately for those crafters that do not have a Michael's store near them that I haven't had much time for creating. However, when a very close friend's 12 year old Australian Shepherd passed away this week, I knew that I wanted to create something special for her. I was able to get some great pictures and creating I went! Here is the best news: it only took me one evening to create this Memory Display Stand. I was pretty rusty in the beginning but once I got going, the creativity starting flowing and I was loving every minute of it (you can probably even tell which ones I did first!). I mainly used Heidi Swapp's Vintage Chic line but added some Sugar Chic and No Limits Banner Delights. I also used Color Shine here and there.
If you have any specific questions, please feel free to comment. If you have done a Memory Display Stand, I would love to see pictures of it. Thanks for stopping by and have a great weekend!
Wednesday, February 6, 2013
Windows, Windows and more Windows!
Hi! I hope this post finds you all enjoying your day or evening with some relaxing time for you. We all need some down time to give us the energy to be the best we can be during each day. What do you do for your down time? My relaxing time is when I can create. It doesn't matter if I am scrapbooking, journaling, making home decor or sanding windows, that is when I re-energize.
Speaking of windows (now wasn't that the corniest transition ever!!!), I love old windows. There is something about an old window that enchants me. I think of who looked into those windows before me and who looked out of them. I wonder what person cleaned the windows (or didn't for that matter!). I wonder what the house looked like that surrounded the window. Do you think of these things or is it just me?
I have had a six-paned window in my office for several years. It had no glass so I hung it on the wall and put pictures right on the wall within each pane. Recently, I decided to change things up as I have been purchasing more and more windows. Here are some of the windows I have:
Ooh, on this one you can see that I have been spray painting with red next to these windows!
I have a small space at a boutique here in Arlington, Texas, called The Shoppes at the Brownstone Village. I decided it was time to add windows to my space so I can share my love for them with those around me. I have been buying them in pretty poor condition, and giving them some lovin'. Practically what that means is first I power wash them. Secondly, I sand them without taking away that old and vintagey look. Next, I add D rings which are hanging hardware. Fourth, I get the big bottle of Windex out and really clean them. Finally, I either leave them as is or I decorate them with papers, pennants and the like.
There are so many things you can do with a window, even if there is no glass. Here is a window I have in my office that the glass was cracked so I took out any agression I may have had that day, got a brick and had at it with getting the rest of the glass out. Who needs to pay for therapy when you get to break a window!!
I recently went "shabby chic" in my living room and here are two glassless windows that I just sit on my mantle.
The next window in my home has glass and is in my family room. I am not finished with it yet as I am going to add a pennant (you will see a finished one later), but I couldn't wait to get this honey up on my wall. I used Heidi Swapp's Vintage Chic line of paper. I am not sure if you can see it or not, but on the top middle, there is a sheet of map paper which is one of my favs. I also love that chevron paper below it. Thanks, Heidi, for creating such great paper!
This window is a "fully decorated" one as I like to call it. It has the fabulous Vintage Chic paper and a burlap pennant. I decorated the pennant with more Vintage Chic goodness.
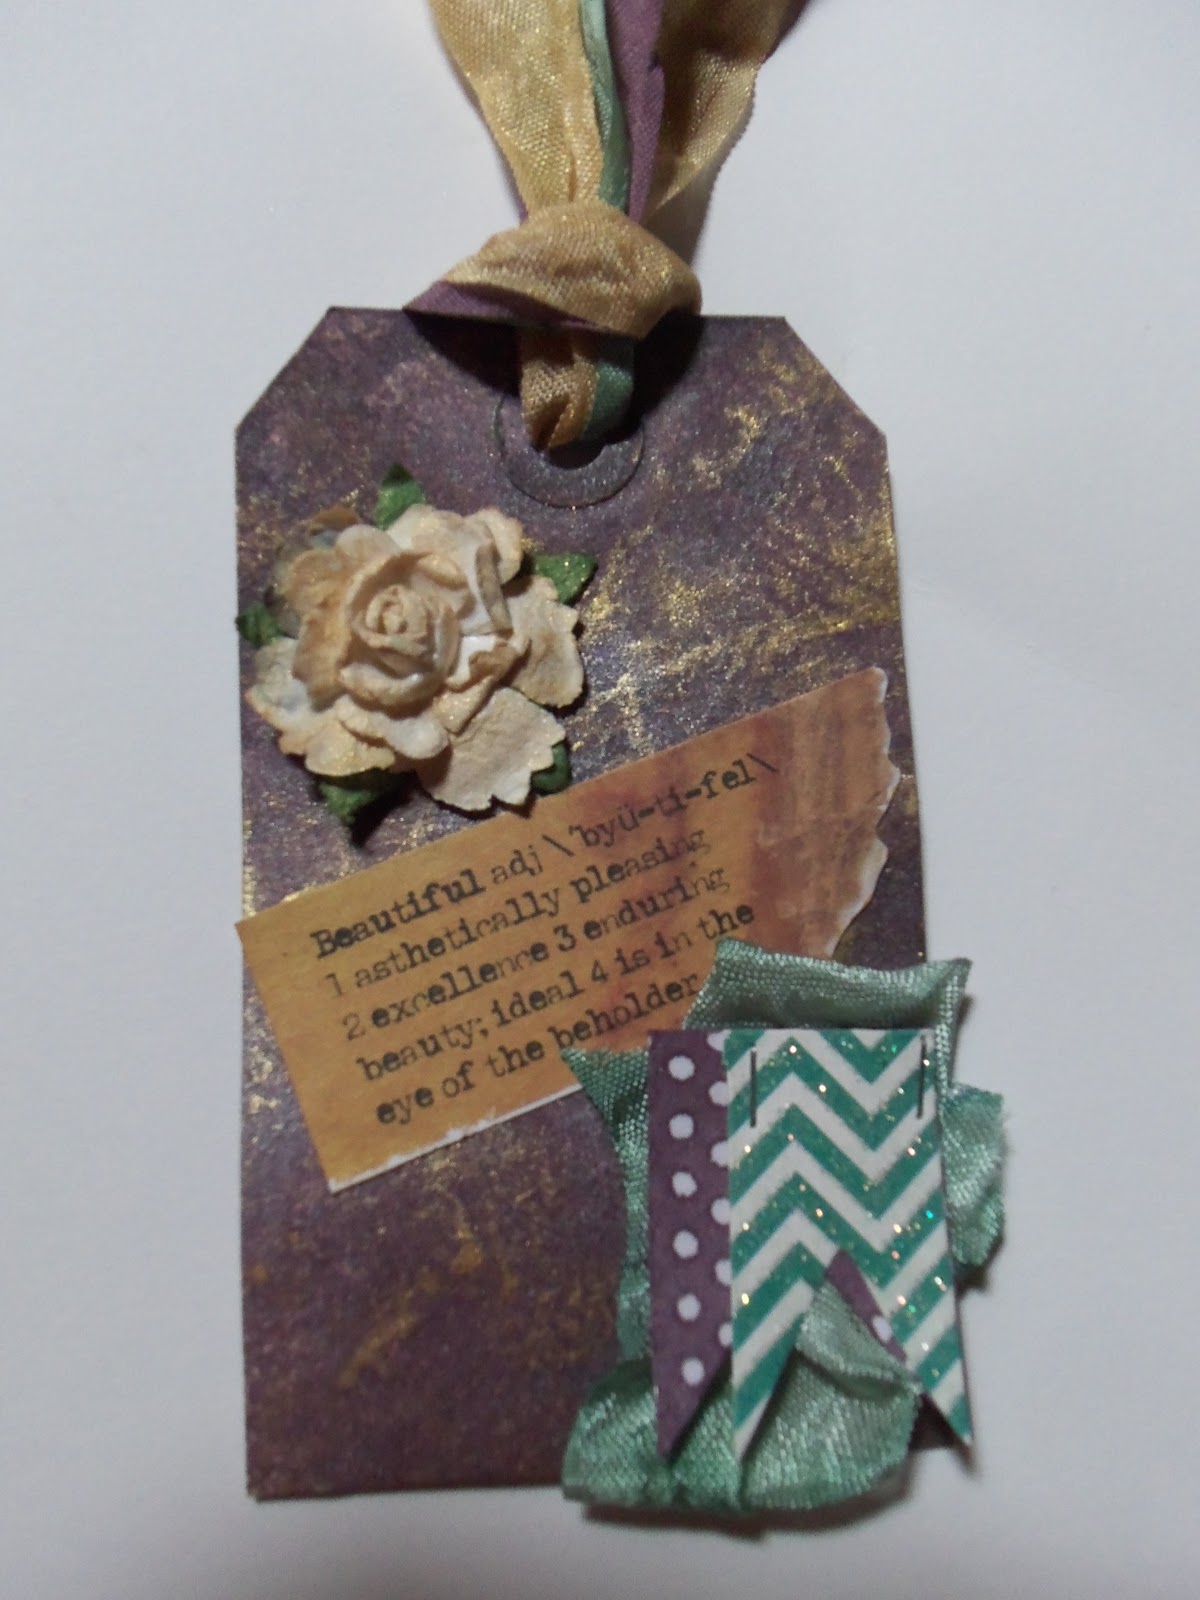
Here is another four-paned window that I used Heidi Swapp's Sugar Chic paper and Pink Paislee's London Market paper.
Last, but certainly not least, is a window that once again the glass was cracked (another therapy session for moi). I have never worked with chicken wire before and it was some experience. Thankfully, I didn't get too many scrapes!. I used about 200 staples with my handy dandy staple gun to tack the wire down and that baby is not going anywhere!
Thanks so much for stopping by and looking at my windows. Drop me a note or send me a photo of any old windows you have in your home. I would love to see them! Blessings to you all!
Kathryn
Labels:
artisan elements,
burlap,
color shine,
diydecor,
Gold Lame,
Heidi Swapp,
hkswapp,
home decor,
London Market,
old windows,
paper,
pennant,
Pink Paislee,
scrapbook,
shabby chic,
sugar chic,
vintage,
vintage chic,
Windows
Saturday, January 26, 2013
Circle Journal, Day 3
Happy Saturday Evening! I have had a productive weekend so far. How about you? I hope that you have looked at my blog the past few days to enjoy Lorrie and Colette's work they did for my circle journal. I feel so blessed to be able to keep their work. We crafters tend to create to give away and it is so nice to have someone else create and give to us, isn't it?
Here are the photos from my journal. There are quite a few photos but please know it isn't because I am trying to be bragadocious (is that a word from the 80s or what?!), it is because I created so many openables that I wanted to share with you what was inside each one. When I see a project, I love to be able to see all the details so that I what I tried to capture here. To learn more about my theme, please see the first post in this series. Thanks so much for looking at my work. I would love to hear from you.
| This is the inside of the pink chevron openable directly above this pic. |
| This tag is in the envelope tucked behind the pink chevron openable. |
| If you notice, the pink chevron openable is on a folder and this is the inside of that folder. |
| This is the inside of the left hand openable on the picture above. |
| These tags go in the purple and green envelope with the bird on it, under the "Beautiful Life" tin. |
| This is the tag that goes in the pocket in the picture below this one. |
| This is the top portion of the above openable. |
![]() |
| This is the right inside of the journal. |
| Top openable. |
| Inside of the top openable. |
| Bottom openable. |
| Left inside of bottom openable. |
| Right inside of bottom openable. |
Wow, you actually got through all of those pictures! Thanks again for looking at my blog. This was one experience I will never forget. I hope I get a chance to do this again in the future.
I mentioned yesterday that I would give you some tips on doing a circle journal. Well, instead of reinventing the wheel, as they say, I thought I would copy some great information I received from a website called www.papercraftcentral.com. Susan Luke is the woman who started this site and besides having a very detailed description of what a circle journal is and how to organize it, she has tons of other advice, tips, etc. on scrapbooking in general. The rest of the blog is copied directly from her blog so I give her all the credit. Thanks, Susan, for being so helpful in this journey!
Susan Luke's Circle Journal information, taken directly from her website www.papercraftcentral.com:
"I think the best way to get a sense of meaning for this type of scrap booking is to think of it as a game of Round Robin - where everyone in the circle gets a turn to scrap a page or two in your album.
The idea of circle journals started a long time ago and they have probably existed in some form for centuries (think shared diaries, written journals, art journals). Today, people who make papercraft projects still enjoy being inspired by others, holding someone else's work in their hands, and making friends in this unique way.
I participated in a swap with twelve other papercrafters and I couldn't wait to see my own album again! I farewelled it sometime in January 2008 and it came back to me in January 2009, give or take a month or two. I was sure looking forward to receiving it, and I wasn't disappointed when it finally arrived either.
So how does this type of swap work?
- First, find a group of friends who would like to participate in a circle journal swap. Or find just one friend who wants to trade albums back and forth with you. I found my group in an online forum.
- Next, decide on a theme for your journal. In my swap, each person has their own theme. Mine was "What Matters Most" and each person was been asked to complete a double page layout telling me what mattered most to them in life. Another person chose a travel theme, another chose "Heart Songs" (what makes your heart sing?) Your group could all have the same theme, or you can have two or three themes, or whatever combination of themes you and the other group members desire
- Once you have settled the question of themes, decide how large your albums will be. Remember that the albums will probably be mailed back and forth between group members, so choose a size that is easy to post and that will not grow to be too heavy as the albums are filled up. In my swap, the albums were 6" X 8", but you could choose a larger or smaller size. You may also need to decide on embellishment types as some ornamental work can become quite heavy and therefore more costly to post
- Now everyone needs to make or buy their own album. Each album owner usually decorates the front and back covers of their album, then writes up some 'rules' or requests for how they want the album to be completed (eg: double or single layouts? Flouro colours OK? Flat or 3D embellishments OK? Do you want a picture included on the layouts? How much journaling?) and creates a 'sign in' page for the group. Sometimes an album owner will create the first page of the album as well to 'set the mood' (or standard) for the album. Signing in can be a creativity challenge in itself. One album I received asked each participant to create their own tag, complete with their picture and names, for inclusion in a pocket inside the front cover. Others have had a ruled page with spaces provided for each member to provide their name and the title of their page
- Decide also how long each journal will stay with each group member. A few weeks may be long enough, but I recommend not allowing longer than a month between swaps, as the whole project could lose momentum and people could lose interest. You need to keep just a tiny sense that there is a deadline involved so people will strive to have their pages completed in a certain time.
- Appoint a coordinator of the fun to keep track of where each journal is, and to be notified when they are passed along to the next person. The feeling if a journal is lost in transit or if someone has to unexpectedly drop out of the circle can be very disappointing and bewildering, so a coordinator helps to ensure all journals are tracked and mailed at the same time each month
- Agree on a starting date and check that everyone is ready. Decide on an order within the group so all of the journals pass through each person's hands. We just listed people in order of 'sign-up' and each person mailed their album to the person below them in the list. For example, I constantly received albums from Ali, and constantly sent my completed ones on to Shelly in my swap.
- Check to see that everyone is ready to start, then have everyone mail their albums off to the next person on the list on the same day
- After people have reported receiving their albums all ready to work in, allow a week or two before your coordinator checks how people are progressing. Once everyone indicates they have completed their pages, get everyone ready to post the albums on again, on the same day if possible. As long as people in the group communicate with the coordinator if there are hold-ups or problems, all should go well
People report that the end of a Circle Journal swap is the best part of all. Each person in the group winds up with a beautiful keepsake from their friends, illustrated in each person's own unique style.
Other lovely outcomes are that you will all know each other just a little bit better, and you will have ideas and examples of papercrafting techniques you might not have seen before.
That all spells inspiration to me.
Theme ideas are endless and only limited by your own imagination, but here are some ideas to help you along:
- Who are you?
- What's in your purse?
- What's your sport?
- Who is your hero?
- How green are you?
- What's your favourite food?
- Where do you live?
- Who is our favourite singer/artist/family member/animal/plant/mineral!!
- What's in your backyard?
- Where's your favourite place?
- If you could travel by train anywhere in the world, where would you go and why?
- What was the best time of your life?
- What have you learned/What has life taught you?
- Who was your best teacher in life?
Whatever theme you choose, I hope you enjoy you experience with Circle Journals
."
Subscribe to:
Posts (Atom)


