Thursday, January 31, 2013

Free...My One Little Word

I am making it official:  I am now a part of the #olw world :), otherwise known as one little word.  I didn't really want to have olw.  I talk alot and do alot and the thought of having just one word to focus on for the year seemed to box my personality in.  Funny, how things change. 

I started thinking more about this concept.  Then I did something that might sound strange to some of you, but I prayed about it.  I decided that if there was going to be one word for me to focus on in the year 2013, I didn't want to be the one to pick it for myself.  I wanted God to pick it for me.  So, as I was praying one day I told God that if this olw thing was something He would want for me, then He would have to be the one to give me the word.  Wierd, I know.  Maybe some of you can understand.  I said my prayer and thought the subject would be closed for several weeks. How wrong I was!  Within several minutes, the word FREE came to me.  Really?  Yes, really.  I pushed it aside in my mind. Everytime I pushed it away in my brain, it kept coming back up.  OK, I get it.  So, my word was going to be free.

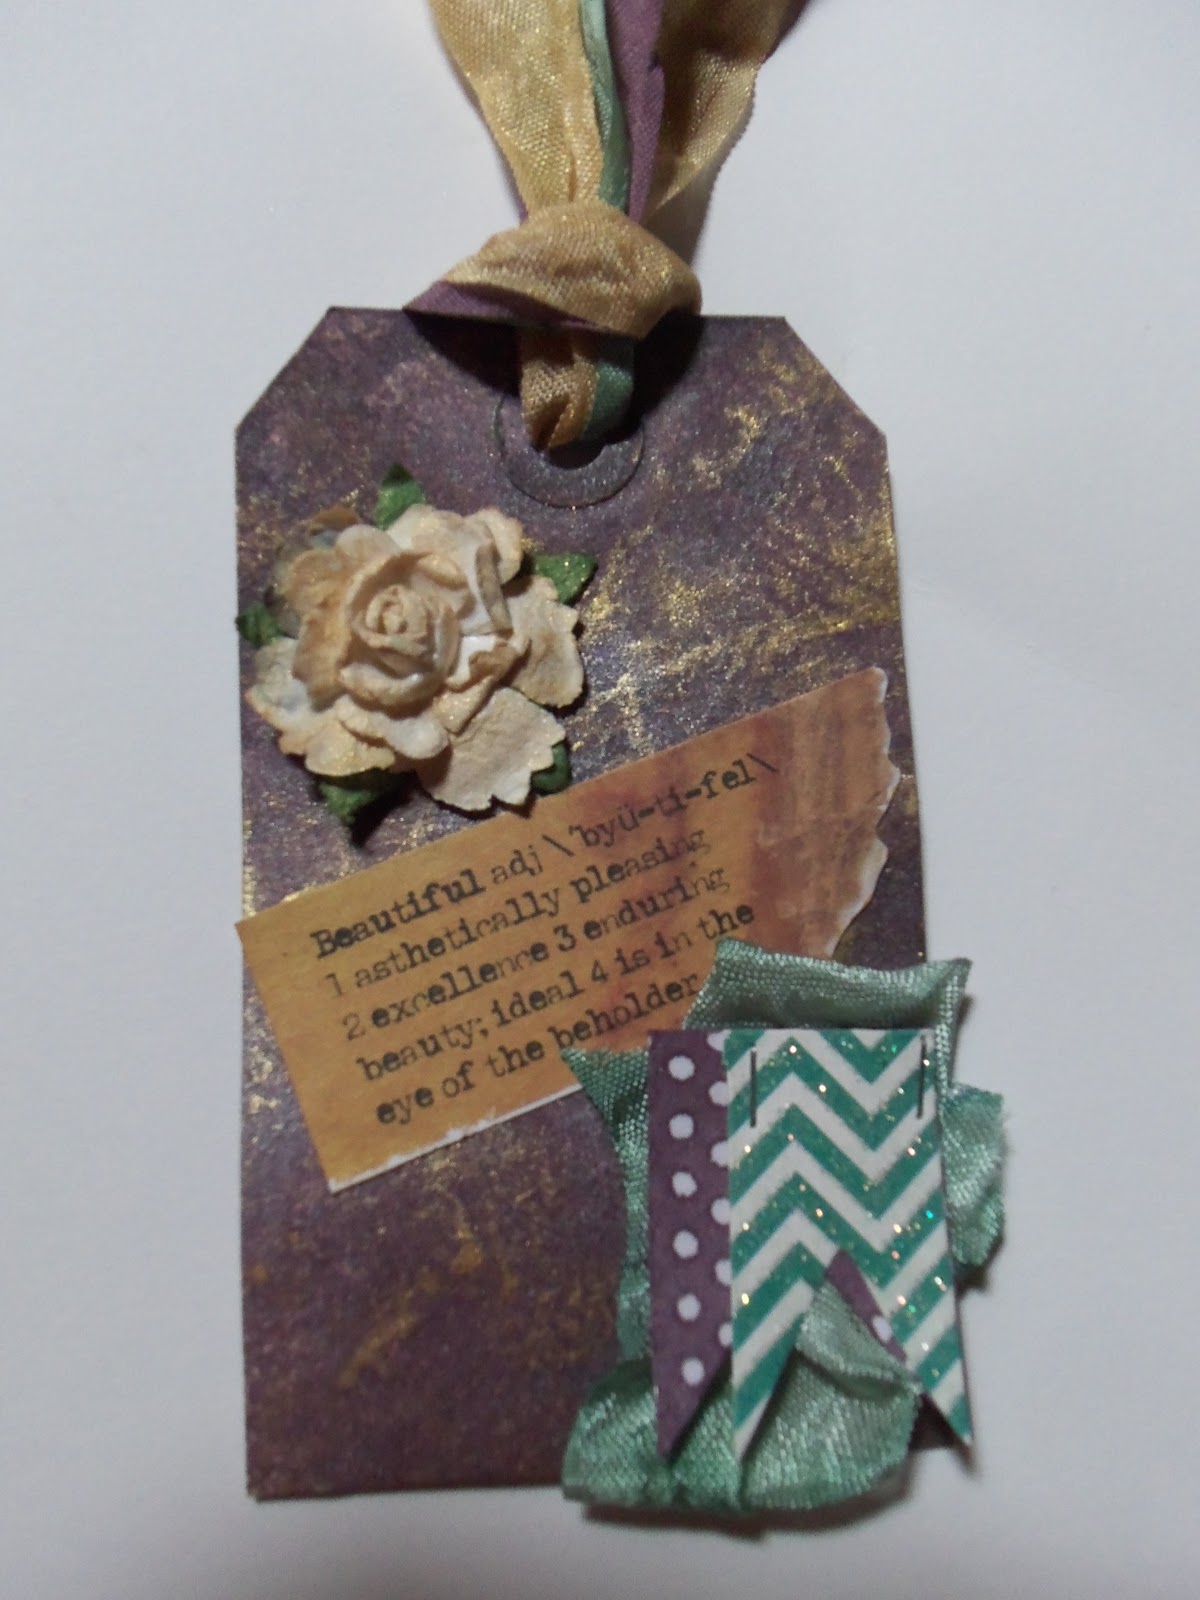
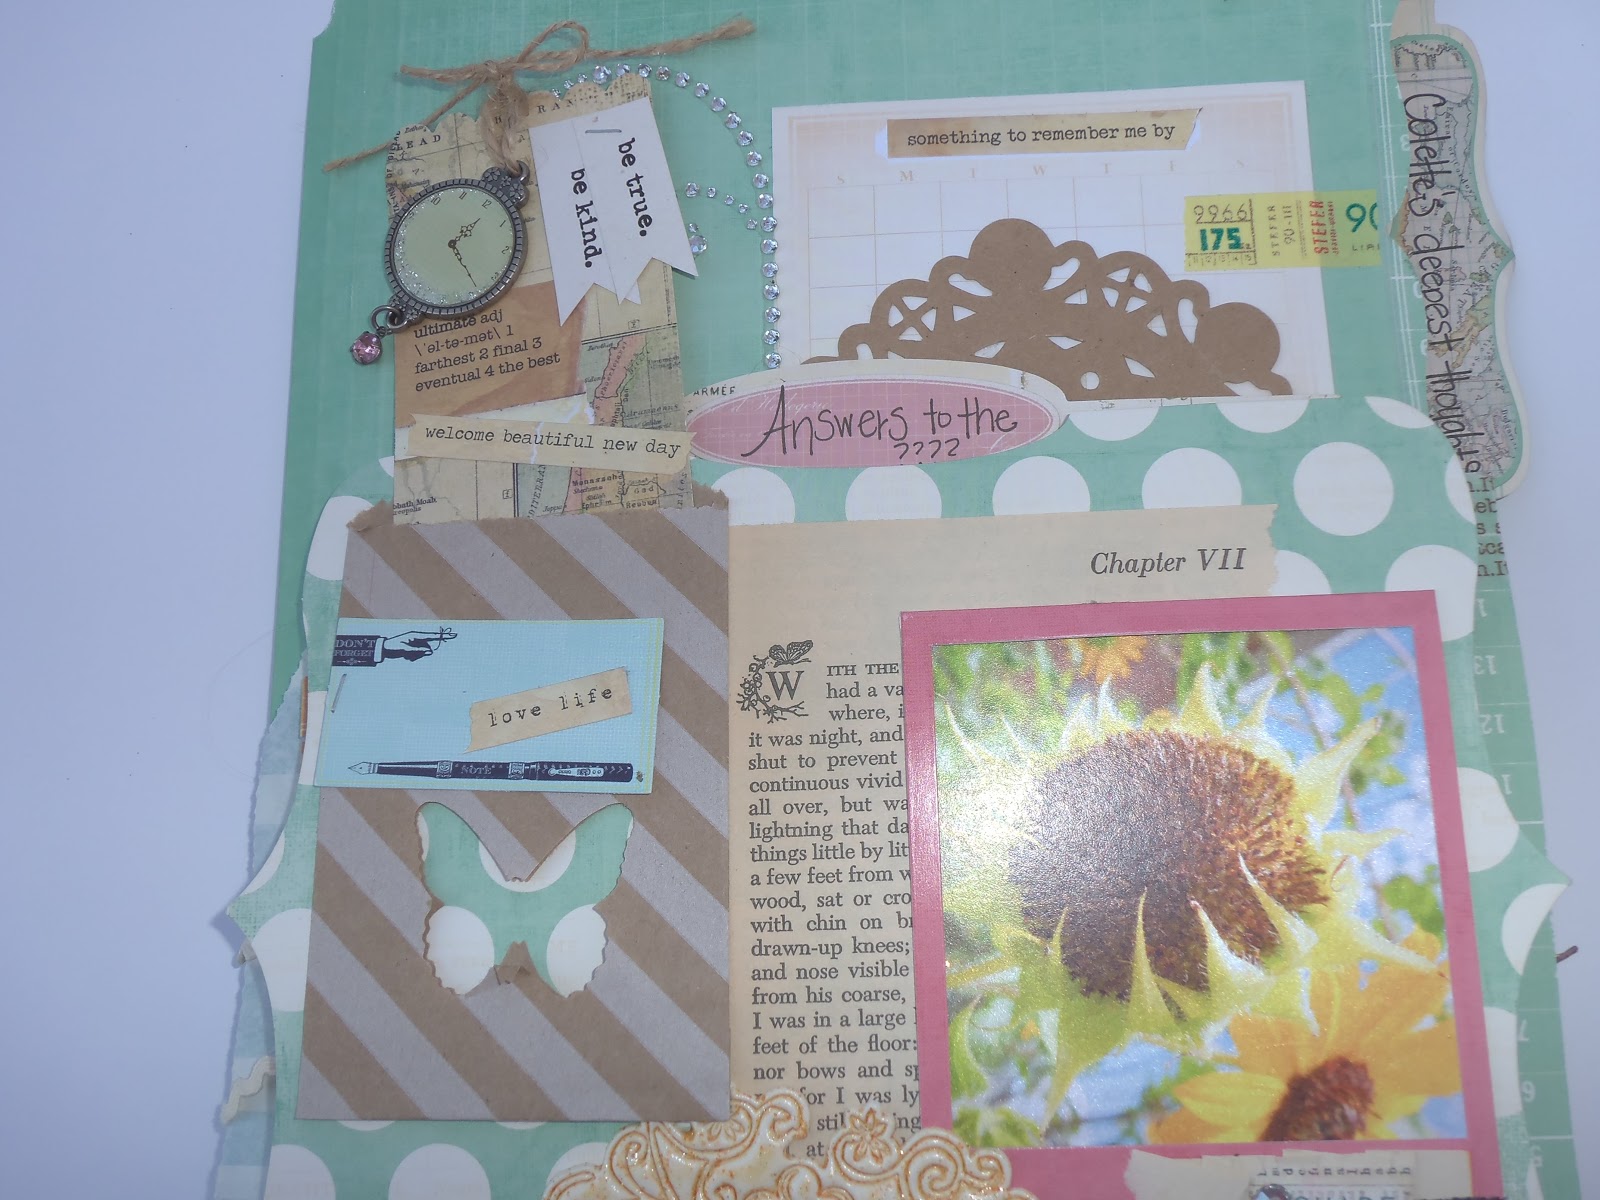
Why free?  Again I thought maybe something would come to me a few weeks down the road.  Oh no.  Right then and there, phrases with the word free in them started flooding my mind.  "There is freedom in Christ" "I need to be free of the scale." (I admit it can either make or break my day depending on those silly numbers on my bathroom scale.  Am I the only one???)  "I need to learn how to be free to create."  On and On those phrases came to me.  I went home, wrote them down and now I am working on learning all about my olw.  I decided since I offically had my own olw, I would create something that would help me to remember it.  Below is what I created and now it is in my living room where I can see it all the time.  I am looking forward to this year and what I can learn about the word free.  I would love to know if you have olw and what that word is and how you are learning about your word.  Leave me a message.  We can journey through it together!


Monday, January 28, 2013

More Heidi Swapp Color Magic and Pink Paislee Mistable Color Shined Tags


I hope you enjoyed the Circle Journal series.  I would love to join another one in the future!  Until then, I wanted to share some quick and easy Color Shine tags I made.  I love how fast these can be made and yet still have that pop of color and style! 

I used Heidi Swapp's Color Magic paper, a Color Magic note cut in half, a Pink Paislee artisan butterfly, some bakers twine, rhinestones, some seam binding colored in Color Shine and a few random sequins.  The Color Shine colors I used were Mint Green and Tinsel.
 
I could pretty much ditto everything from the previous tag, just with different paper!


Here I used Amethyst and Tinsel Color Shine on a piece of Pink Paislee Mistable paper, layerd with Pink Paislee's Artisan Elements (the square) and butterfly.  Again, I used seam binding and sequins.

Surprise, surprise!  I used Amethyst and Tinsel Color Shine!  I started with a piece of Pink Paislee's Mistable paper, layered a flower, a disco star from Heidi Swapp and clipped with a tiny clothespin that I used Color Shine on.

I started off with Mistable paper from Pink Paislee, then layered a Color Magic banner delight, paper circles, covered with a Heidi Swapp disco star and tiny flowers.  Tinsel and Amethyst were clearly my go-to colors for these tags!


Saturday, January 26, 2013

Circle Journal, Day 3

Happy Saturday Evening!  I have had a productive weekend so far.  How about you?  I hope that you have looked at my blog the past few days to enjoy Lorrie and Colette's work they did for my circle journal.  I feel so blessed to be able to keep their work.  We crafters tend to create to give away and it is so nice to have someone else create and give to us, isn't it? 

Here are the photos from my journal.  There are quite a few photos but please know it isn't because I am trying to be bragadocious (is that a word from the 80s or what?!), it is because I created so many openables that I wanted to share with you what was inside each one.  When I see a project, I love to be able to see all the details so that I what I tried to capture here.  To learn more about my theme, please see the first post in this series.  Thanks so much for looking at my work.  I would love to hear from you.


This is the inside of the pink chevron openable directly above this pic.


This tag is in the envelope tucked behind the pink chevron openable.


If you notice, the pink chevron openable is on a folder and this is the inside of that folder.


This is the inside of the left hand openable on the picture above.


These tags go in the purple and green envelope with the bird on it, under the "Beautiful Life" tin.

This is the tag that goes in the pocket in the picture below this one.


This is the bottom of the openable on the right side.


This is the top portion of the above openable.

This is the right inside of the journal.


Top openable.


Inside of the top openable.


Bottom openable.


Left inside of bottom openable.

Right inside of bottom openable.


Wow, you actually got through all of those pictures!  Thanks again for looking at my blog.  This was one experience I will never forget.  I hope I get a chance to do this again in the future.

I mentioned yesterday that I would give you some tips on doing a circle journal.  Well, instead of reinventing the wheel, as they say, I thought I would copy some great information I received from a website called www.papercraftcentral.com.  Susan Luke is the woman who started this site and besides having a very detailed description of what a circle journal is and how to organize it, she has tons of other advice, tips, etc. on scrapbooking in general.  The rest of the blog is copied directly from her blog so I give her all the credit.  Thanks, Susan, for being so helpful in this journey!

Susan Luke's Circle Journal information, taken directly from her website www.papercraftcentral.com:

"I think the best way to get a sense of meaning for this type of scrap booking is to think of it as a game of Round Robin - where everyone in the circle gets a turn to scrap a page or two in your album.

The idea of circle journals started a long time ago and they have probably existed in some form for centuries (think shared diaries, written journals, art journals). Today, people who make papercraft projects still enjoy being inspired by others, holding someone else's work in their hands, and making friends in this unique way.

I participated in a swap with twelve other papercrafters and I couldn't wait to see my own album again! I farewelled it sometime in January 2008 and it came back to me in January 2009, give or take a month or two. I was sure looking forward to receiving it, and I wasn't disappointed when it finally arrived either.

So how does this type of swap work?


  • First, find a group of friends who would like to participate in a circle journal swap. Or find just one friend who wants to trade albums back and forth with you. I found my group in an online forum.

  • Next, decide on a theme for your journal. In my swap, each person has their own theme. Mine was "What Matters Most" and each person was been asked to complete a double page layout telling me what mattered most to them in life. Another person chose a travel theme, another chose "Heart Songs" (what makes your heart sing?) Your group could all have the same theme, or you can have two or three themes, or whatever combination of themes you and the other group members desire

  • Once you have settled the question of themes, decide how large your albums will be. Remember that the albums will probably be mailed back and forth between group members, so choose a size that is easy to post and that will not grow to be too heavy as the albums are filled up. In my swap, the albums were 6" X 8", but you could choose a larger or smaller size. You may also need to decide on embellishment types as some ornamental work can become quite heavy and therefore more costly to post

  • Now everyone needs to make or buy their own album. Each album owner usually decorates the front and back covers of their album, then writes up some 'rules' or requests for how they want the album to be completed (eg: double or single layouts? Flouro colours OK? Flat or 3D embellishments OK? Do you want a picture included on the layouts? How much journaling?) and creates a 'sign in' page for the group. Sometimes an album owner will create the first page of the album as well to 'set the mood' (or standard) for the album. Signing in can be a creativity challenge in itself. One album I received asked each participant to create their own tag, complete with their picture and names, for inclusion in a pocket inside the front cover. Others have had a ruled page with spaces provided for each member to provide their name and the title of their page
  • Decide also how long each journal will stay with each group member. A few weeks may be long enough, but I recommend not allowing longer than a month between swaps, as the whole project could lose momentum and people could lose interest. You need to keep just a tiny sense that there is a deadline involved so people will strive to have their pages completed in a certain time.


  • Appoint a coordinator of the fun to keep track of where each journal is, and to be notified when they are passed along to the next person. The feeling if a journal is lost in transit or if someone has to unexpectedly drop out of the circle can be very disappointing and bewildering, so a coordinator helps to ensure all journals are tracked and mailed at the same time each month

  • Agree on a starting date and check that everyone is ready. Decide on an order within the group so all of the journals pass through each person's hands. We just listed people in order of 'sign-up' and each person mailed their album to the person below them in the list. For example, I constantly received albums from Ali, and constantly sent my completed ones on to Shelly in my swap.

  • Check to see that everyone is ready to start, then have everyone mail their albums off to the next person on the list on the same day

  • After people have reported receiving their albums all ready to work in, allow a week or two before your coordinator checks how people are progressing. Once everyone indicates they have completed their pages, get everyone ready to post the albums on again, on the same day if possible. As long as people in the group communicate with the coordinator if there are hold-ups or problems, all should go well
At the End of the Swap
People report that the end of a Circle Journal swap is the best part of all. Each person in the group winds up with a beautiful keepsake from their friends, illustrated in each person's own unique style.

Other lovely outcomes are that you will all know each other just a little bit better, and you will have ideas and examples of papercrafting techniques you might not have seen before.

That all spells inspiration to me.

Ideas for Circle Journal Themes
Theme ideas are endless and only limited by your own imagination, but here are some ideas to help you along:


  • Who are you?
  • What's in your purse?
  • What's your sport?
  • Who is your hero?
  • How green are you?
  • What's your favourite food?
  • Where do you live?
  • Who is our favourite singer/artist/family member/animal/plant/mineral!!
  • What's in your backyard?
  • Where's your favourite place?
  • If you could travel by train anywhere in the world, where would you go and why?
  • What was the best time of your life?
  • What have you learned/What has life taught you?

  • Who was your best teacher in life?


Whatever theme you choose, I hope you enjoy you experience with Circle Journals

."

Friday, January 25, 2013

Circle Journal, Part 2 of 3...or 4?

Yesterday I told you about the experience I had with my first circle journal. Since I had never done a circle journal before, and I was the unspoken organizer, I learned a thing or two about the process.  I would love to share some tips in tomorrow's blog.  I may have been a bit too negative in yesterday's post.  I want to let you know I would absolutely participate in another circle journal again. And, when you end up with two amazing journal entries such as I did, why wouldn't I want to do this again!

Today I want to share Colette Nederhoff's inspirational addition to my journal.  If you don't follow Colette's blog, you need to hop on over there after seeing her incredible work here and start following that girl.  She is one talented artist!  Her blog is http://nederhoffco.blogspot.com/.  Without further chit chat...here is Colette's work.  Again, I apologize for my photography skills.  I really need some classes, I know :)


Thanks for joining me today.  I know you have been inspired by Lorrie's and Colette's word.  Come back tomorrow night to see how I put together my journal.  This was a sweat and tears creation, for sure.  I think it took me about 15 plus hours to create it.  Most of that time was spent worrying, moving things around and second guessing myself.  I would love your thoughts on what I did so I hope to see you tomorrow and please leave a comment and tell me what you think of all of the journal.  Blessings to you!

Thursday, January 24, 2013

My First Circle Journal

Hi!  It has been quite some time since I have blogged.  So many personal things have been going on (such as sick children, friend's that have needed me, etc.) which should not be an excuse to do something that I love so I decided I needed to schedule some blogging time each day, starting now.

What better way to start my new habit than to show you to some fabulous pictures from my very first circle journal.  I saw the concept on Heidi Swapp's Create to Remember show back in October and thought what a great way to get myself motivated to create and to have some other creative people in my life inspire me with their work.  Pretty great deal, actually!  It was certainly a roller coaster ride.  I am going to be honest here and share it was one of the best and worst experiences of my life.  While creating my journal, I put so much pressure on myself that some days I thought I would explode!  I seriously laughed and cried through this entire process.  I learned alot about myself.  I hope I grew through this experience.  The best part is that I became closer to two of my on-line friends, Lorrie and Colette.  I would definitely do another one, despite the negative part of the experience.  Not everything in life turns out the way we want or expect and it is during those times that we learn the most, don't you think? 

I wanted my journal to be very challenging to both myself and those that participated so my theme was "She asked".  She asked what? you ask.  Let me tell you!  I had a series of questions and asked each of the ladies to answer one or all of them.  Here are my five questions:  1.  What have you done different than most people and are proud of?  2.  What is one life lesson you want your daugther to learn from you?  3.  Are you doing what you dreamt you would be doing in your life?  If not, what would you rather be doing?  4.  What makes you happy in life?  5.  Thinking about a hero in your own life, what can you do to grow into being someone else's hero?  Pretty tough questions, right?  I want to always be learning and because I admire the ladies that participated, I wanted to learn from them in the framework of these questions and their creativity.  Their answers were certainly inspiring and their work was incredible.  The pictures speak for themselves.

Because there is so much to show you, I am going to take the next three days so you can see all the goodness wrapped up in one journal.  I will start with the amazingly talented Lorrie Nunemaker (check out her blog at www.lorriesstory.com).  Here are pictures of her fabulous work she did for my journal.  We all mainly used Heidi Swapp's Vintage Chic line which was perfect for what I wanted to convey.  I do apologize for the quality of my pictures.  I am still learning in that area!


Thanks for looking.  I will be sharing Colette Nederhoff's work in my journal tomorrow.